Thank you for your patience while we retrieve your images.
Jigsaw Photography Ltd
About
▼
About
▼
About
Insurance
Contact
▼
Contact
▼
Contact
Login
Blog
Gallery
▼
Gallery
▼
Gallery
Latest Photos
Client Access
▼
Client Access
▼
Client Access
Login
Sterampunk 2019
Exhibitions
Scunthorpe & Area
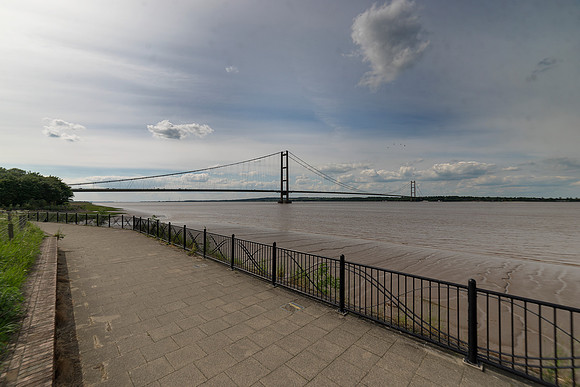
Humber Bridge 2 © Bob Riach
© Jigsaw Photography Ltd